App Builder

To get a feel at all the different type of interactive media there is out there. The next on the list was app building using the website www.appypie.com. After creating an account with my college google account I was told to create an app based on anything I liked/interested in.

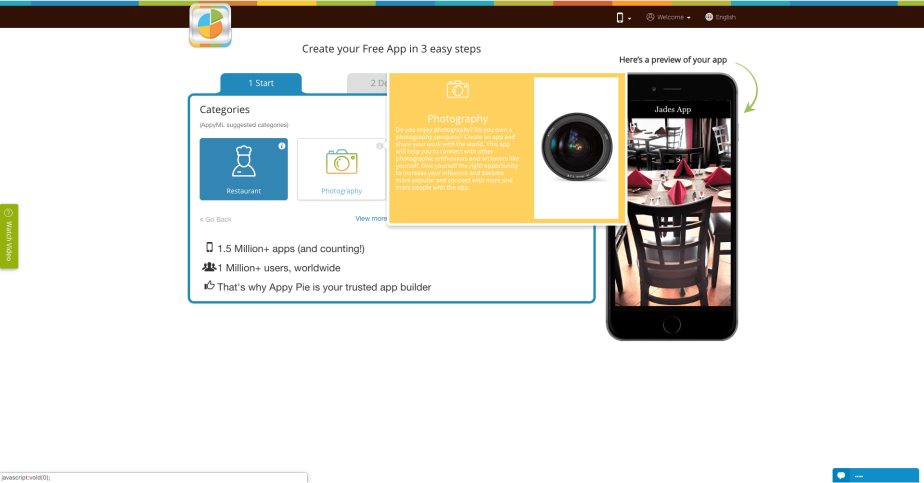
In this screenshot below you can see that I was planning on picking the photography category but before this I was asked what I wanted to call my app so it was called “Jade’s App”. Main reason why I was going for photography though is because if I want to create a fan app I need to make it at least somewhat interactive.

screen-shot-2019-01-15-at-14.42.30.png

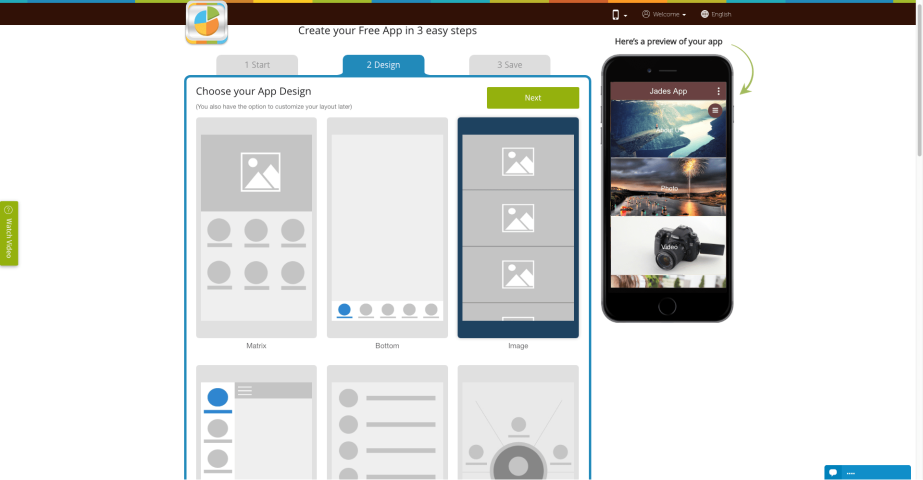
After clicking next on the screenshot above I got this screen shown below. This screenshot below shows the different ways in which the app can be laid out and the one I choose from all the options I felt would be easier and may appeal more.

screen shot 2019-01-15 at 14.48.24

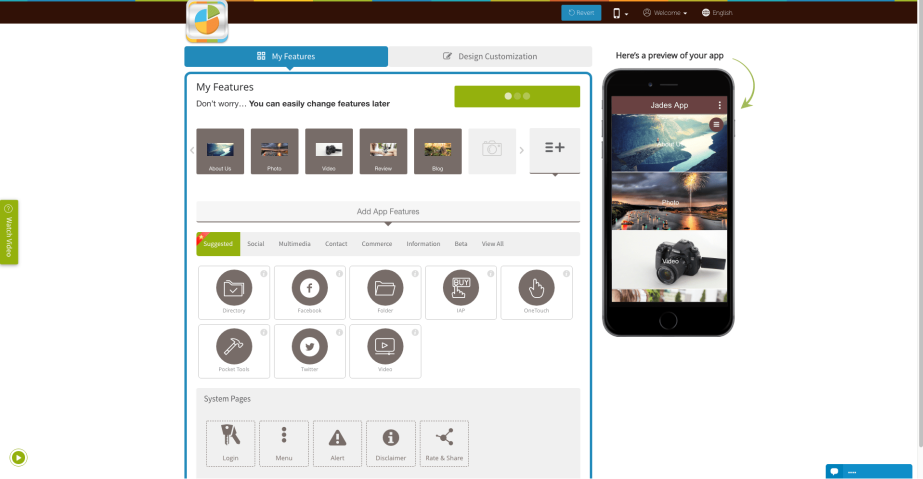
After clicking next from the screenshot below I got this screen that is shown below. This is where I can decide what type of features my app is going to have. There was many things that I could of chose from but I kept the about us part in so anyone downloading the app can understand the reasoning behind the app but why the person behind it is doing it. Put photo and videos in there so people can be interactive with the app.

screen-shot-2019-01-15-at-14.48.35.png

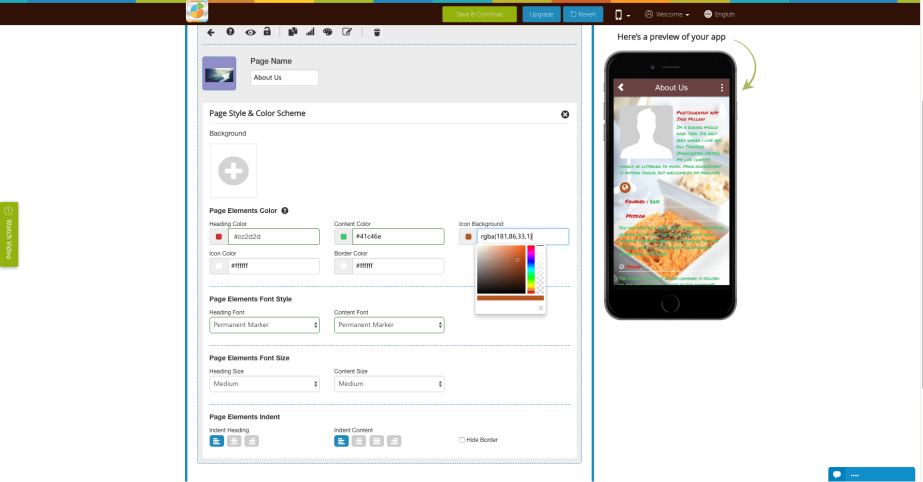
This screenshot below shows the about us part with text but to the left of this it shows the ability to change the colours of the titles and the sub text with this the fonts and a lot more.

screen-shot-2019-01-15-at-15.32.26.png

The pros of using this website to create an app is how quick and simple it is. Just a few steps before you are able to customise it the way you want and to the way it will benefit anyone if they download the app. One disadvantage is that some people who aren’t that into using technology might not understand all the different option in which the features of the app can have.

iBooks Author

To start this off I needed to come up with a purpose of the iBook’s Author work. So I chose to do this about NF as I was listening to his music at the time and that’s the only other thing I fully know some things about. Added information about NF, what his name is  and what he does/is.

To add to this I started to gather some pictures that I could use for the galleries. In doing this I had typed in “NF”. Then added more information about the pictures and what they represent about the person. Then to give a person an idea of what type of music NF produces if people didn’t know I used the music video of “Outcast”. In doing this I used http://www.savefrom.net to get this video. Reason for this is because this isn’t the deep end of music he can produce and many people wont like the real music he creates. After explaining what that video is in the inserted video box I moved on to do the interactive images. I choose the Bobby Tarantino tour as he was invited to take part and explained what the poster says and how it could help someone trying to get on to that tour by buying tickets in advance but also seeing what states are involved.

The final piece of this is shown below:

NF

The good aspects of this software is that it is quick and easy steps to add pictures and videos as when they are saved all that you need to do is drag them into the space before it is uploaded by the software. Another good thing about this is that it is really easy to use all the tools which is good if someone doesn’t really understand technology or not into really difficult things.

One thing I thought was a bad aspect is that if you write in the box without a text box then the writing changes to a different language, so the one thing that needs to be done is having text boxes inside the box. Another bad aspect to the software is how you cant put much text into a box if you was going to explain something.


Augmented Reality

To start off with I downloaded the PDF file of the Starbucks template from Moodle and opened the film within Photoshop. The idea was to come up with a new flavour for a new Starbucks coffee. Started off by getting a picture of the internet of one of Starbucks actual cups that they used. Used the brush to tick off boxes that a person might like. Used the from and to with my name and Gemma’s name. Then found pictures off cookie dough and salted caramel sauce. Used the lasso tool to cut out the background from both images and then added them to the original picture, which can be shown below.

This is the idea I had to print out in colour:

Starbucks

After printing this out using the iPads and the quiver app to see the design AR’d on a 3D cup.