Photoshop Basics
When using Photoshop to make a thumbnail on the first day i realised i needed to learn more basic tools of Photoshops and any shortcuts that will make it easier when designing things e.g. posters for films. With this in mind i can change a picture to the way i want. Example of this is if i want a car to stand out over the background then i would use adjustments such as brightness, exposure and hue/saturation.
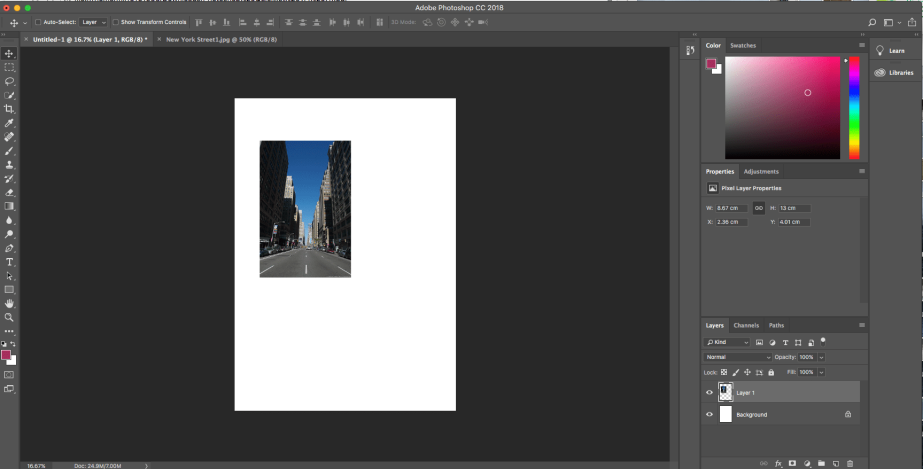
From the screenshot above i had downloaded a picture of a street in New York. I added this to my main design page and pressed cmd+alt+T so then i can make the picture fit the background paper size (A4). Keeping hold of shift so the picture stays in resolution before pressing enter.
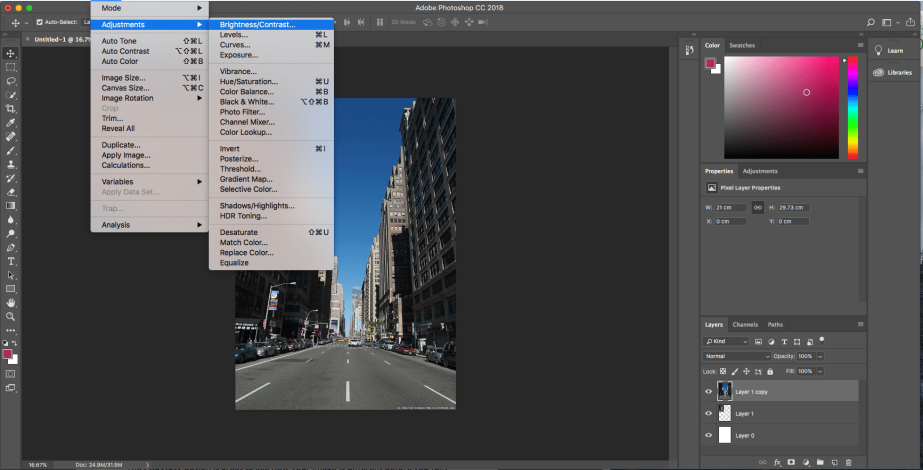
Screenshot above shows the different adjustments i can make to a picture as explained before at the top of the blog. They are all the things that can be changed to a picture but instead of going the longer way round i can use options to the right where the option properties is at.
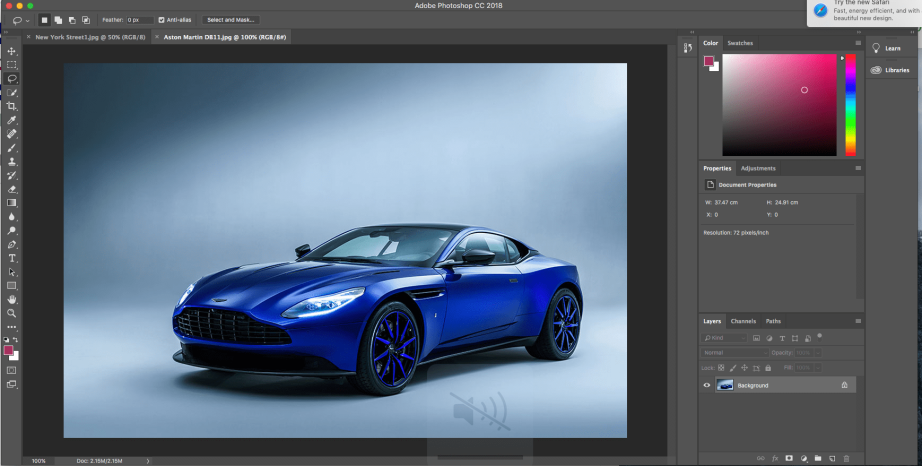
On the screenshot above i am going to use the Lasso tool to cut out the car so i can take the car into my work instead of the both the background and the car especially when i don’t need the background when i’ve created one ready for the car.
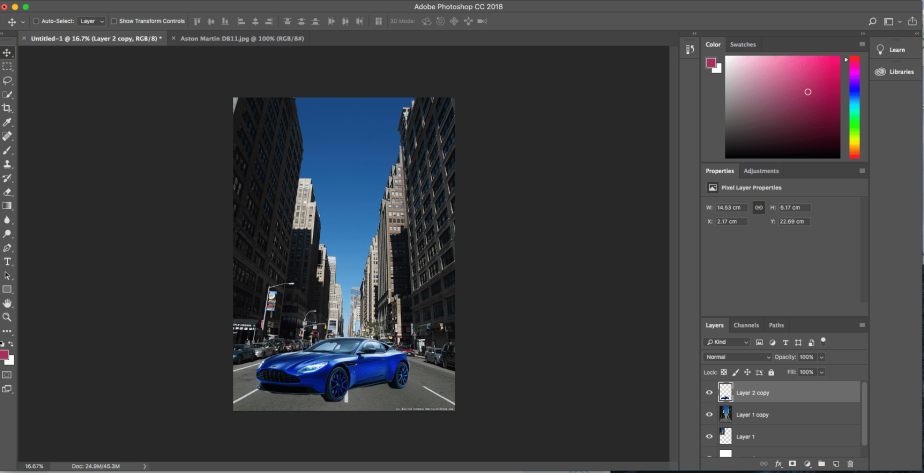
Screenshot above shows that i have moved the car into the file i was working on. The car being at the front is a kind of show off point in front of a large city.
Poster Recreation
After doing some practise Photoshop work, in class I tried to recreate a poster from the film “The Dark Night”. Started off by downloading pictures of a building, batman and the logo. Created a new Photoshop file and started off by adding the pictures or cutting them down so they can fit the picture. With doing this it helped with trying out more new things that could improve any work digitally but also help with any future projects that might need effects added and so on.
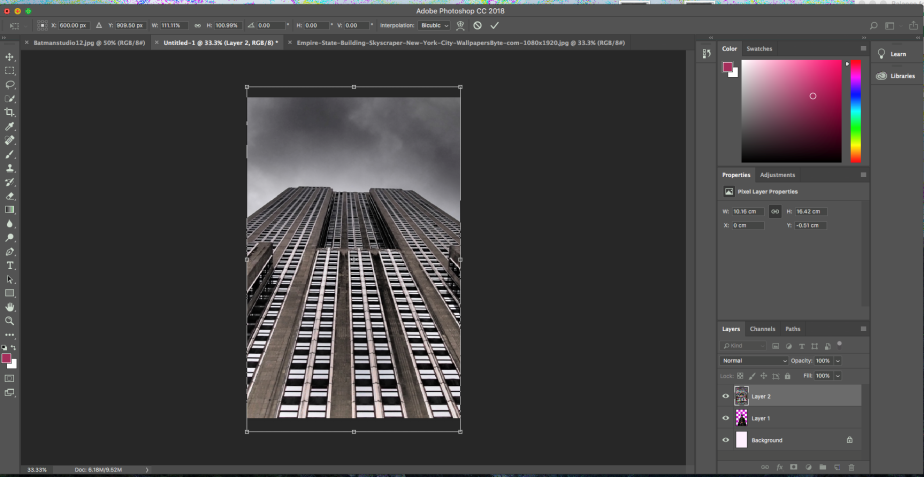
Here you can see I have dragged a picture of a building that was open in a different tab to the tab in which I was creating the poster. With this I tried to make the picture fit the size of the original paper. By doing this I pressed keys that gave a shortcut which was “ctrl alt T”.
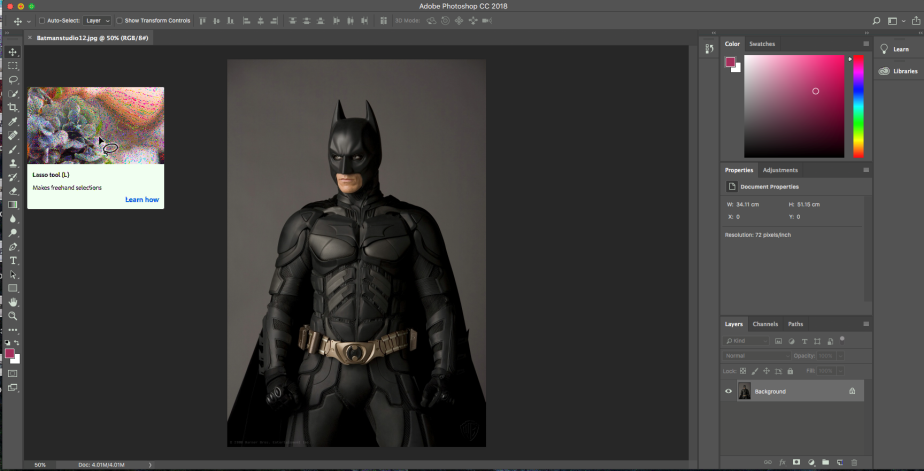
In this screenshot you can see that I’m hovering over a tool called lasse which allows me to cut out things I need but also allows me to remove anything I don’t want at the same time.
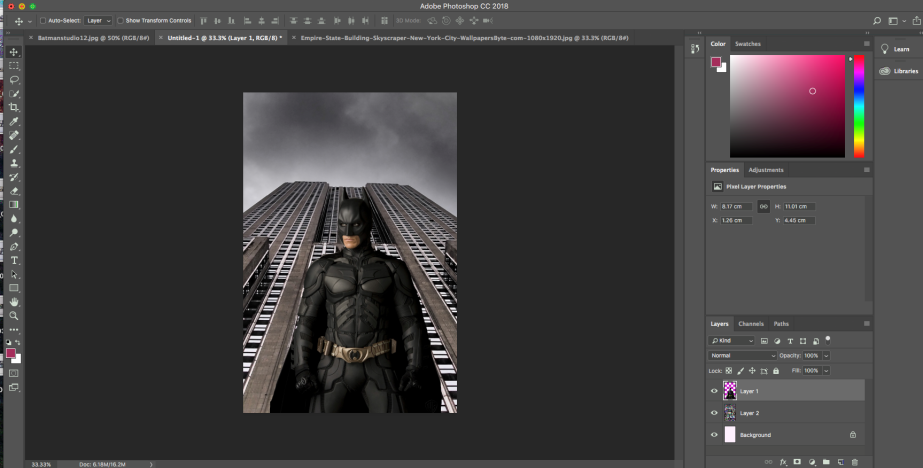
Here you can see I have added the cut of picture of batman on top of the buildings layer and right in the middle so it looks like batman is stood in front of building with a low wide angle.
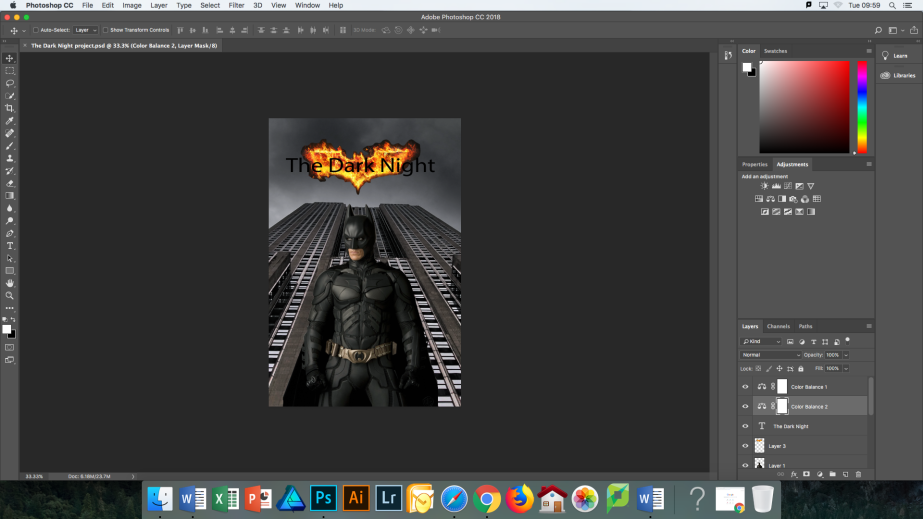
In this screenshot you can see that I have added the batman logo and the title “The Dark Night”. With this where the layers are you can see two layers called “colour balance 1” and “colour balance 2” which gave the building a darker look but also to the sky which helps the logo stand out.
